

Scrubbing is at the heart of cleaning, the core defining factor between an average and exceptional clean. It’s the relentless pursuit of spotless surfaces, radiant floors, and that undeniable feel of cleanliness.
Employing the right cleaner and pad combination, knowing your scrubber brand, understanding the surface you’re tackling – it’s an art and a science. Your floor isn’t just a floor; it’s a canvas, and your scrubber is the brush that brings it to life.
Germs are everywhere and they’re pervasive, hence, a lack of thorough cleaning could affect your health. Yet, the haphazard scrubs of a brush on a stubborn grime spot doesn’t equate to effective cleaning. That’s why a guide to scrubbing cleaning is essential.
Let’s get into it.
The Essential Scrubbing Cleaning Tools You Need
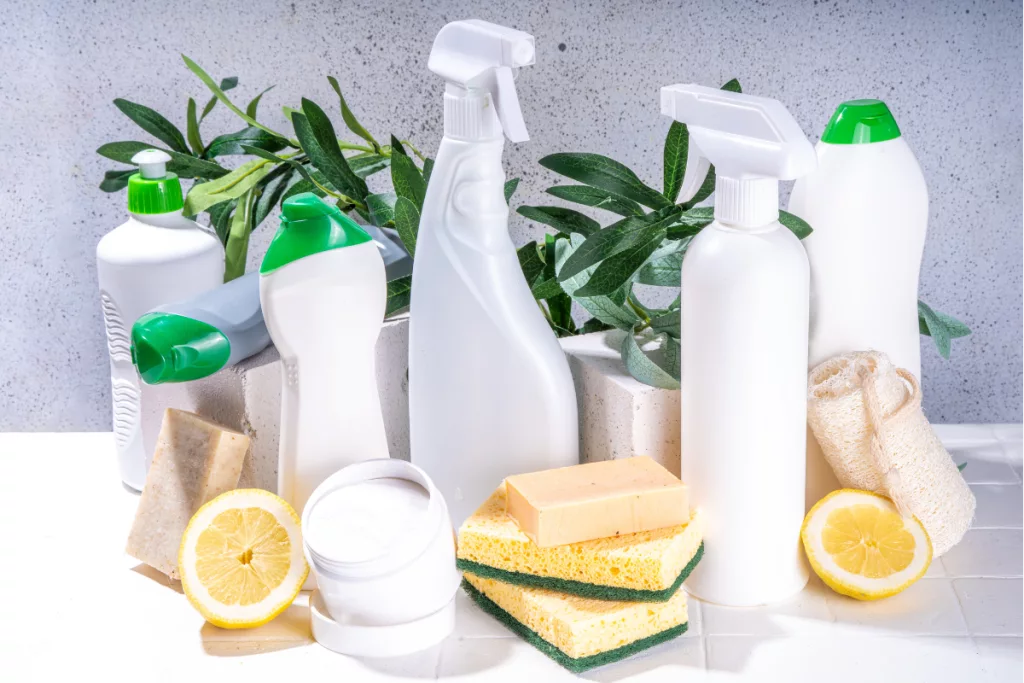
Scrubbing is the act of removing stubborn dirt and grime through vigorous, focused effort. It’s an escalation in the cleaning force continuum—a notch above wiping or dusting. Scrubbing cleaning requires the right tools. Without them, your cleaning efforts may often feel like they lack punch. Here’s a list of the crucial tools you need:
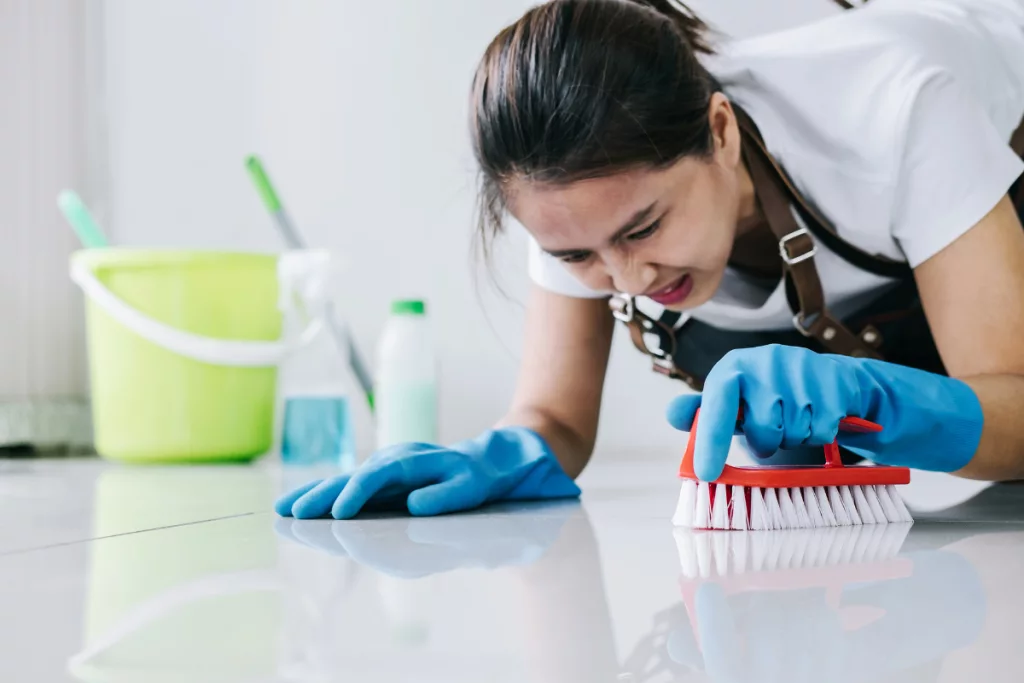
- Scrub Brush: This is the heavyweight champion in the cleaning game. A brush with sturdy bristles dislodges the most stubborn grime, giving your surfaces new life.
- Floor Scrubber: This tool is a must-have for floor care. It effectively targets large areas, quickly restoring your floor to its former glory.
- Scouring Pad: Don’t underestimate this utility player. Usually brand-specific, a scouring pad complements the work of the floor scrubber, especially on tougher stains.
- Reliable Cleaner: Last but not least is the cleaner. It’s the catalyst in the scrubbing process that breaks down stubborn grime, enhancing your efforts. Remember, the cleaner you choose must be compatible with your surface.

Exploring Brushes: The Backbone of Scrubbing Cleaning
Scrub Brushes are among the most common cleaning tools. They handle everything from bathroom tiles to dirt-encrusted furniture. Their role goes beyond surface-level cleaning, breaking down stubborn grime with every stroke.
The scrub brush’s true power lies in its bristles. Bristle selection is undeniably important, as the wrong type could lead to unnecessary wear and tear on surfaces. From soft-bristled brushes for sensitive surfaces to harsh, tough bristles for rigorous toilet cleaning, mastering the art of bristle selection is key.
The Scrubbing Technique
Scrubbing isn’t just about muscle; it’s about technique. Follow these steps to maximize your efforts:
- Apply the Cleaner: Spread your cleaning agent over the area to be cleaned.
- Let It Sit: For tough grime, let the cleaner soak in to break down the dirt.
- Scrub in a Pattern: Start from one side and work in a grid to ensure you cover the entire area.
- Use Elbow Grease: Don’t be afraid to apply some pressure, but know the limits of the surface you’re cleaning.
- Access Corners: Use smaller brushes or an old toothbrush to get into tight spots.
- Rinse Thoroughly: Once the dirt’s loosened, rinse the area with clean water to wash away the residue.
How To Scrub Room by Room
The secret behind a sparkling clean home lies in scrubbing your spaces room by room, applying the right techniques to match distinct needs. Let’s look at the basics:
1. Kitchens:
- Start with the high cabinets and work your way down to the countertops and then the floors.
- Baking soda and vinegar can tackle most tough stains and areas with buildup.
- Don’t forget to deep clean appliances regularly—refrigerator coils, oven interiors, and dishwasher filters.
2. Bathrooms:
- The shower and tub grime require a bit more elbow grease. A dedicated bathroom cleaner and a stiff brush are essential.
- Pay special attention to water spots and soap scum on glass surfaces. A squeegee can prevent build-up.
3. Living Spaces:
- Dust is the main foe. Use microfiber cloths to trap and remove it from surfaces.
- Upholstered furniture benefits from vacuuming and an occasional targeted clean with upholstery cleaner.
4. Bedrooms:
- Mattresses can and should be vacuumed. A baking soda sprinkle before vacuuming helps freshen it.
- Declutter regularly to make dusting simpler and more effective.
Chemical-Free Scrubbing Solutions For toilet,floor, and bathroom
Cleaning our homes shouldn’t come at the expense of the planet’s health. For those mindful of chemicals or looking for eco-friendly options, consider these natural alternatives:
For Toilets: Baking Soda and Vinegar
Ingredients:
- 1 cup of baking soda
- 1-2 cups of white vinegar
Instructions:
- Pour Baking Soda: Start by sprinkling the baking soda directly into the toilet bowl. Make sure to get it on the sides and under the rim, where stains often hide.
- Add Vinegar: Slowly pour the white vinegar over the baking soda. The mixture will fizz and bubble—this chemical reaction helps lift the dirt and stains.
- Let it Sit: Allow the mixture to sit for about 10-15 minutes. You can let it sit for up to 30 minutes for more stubborn stains.
- Scrub: With a toilet brush, scrub the bowl thoroughly, focusing on any evident stains or rings.
- Flush: Flush the toilet to rinse, revealing a clean, fresh bowl.
Lemon Juice for Limescale
Ingredients:
- The juice of 1-2 lemons
Instructions:
- Apply Lemon Juice: Squeeze the lemon juice around the toilet bowl, especially in areas with limescale build-up.
- Let it Sit: Let the lemon juice work its magic for an hour.
- Scrub and Flush: Scrub with a toilet brush and flush away the residues.
For Floors: Vinegar Water Solution
Ingredients:
- 1/2 cup of white vinegar
- 1 gallon of warm water
Instructions:
- Mix Ingredients: In a bucket, mix the white vinegar with warm water.
- Mop Away: Use this solution to mop your floors as usual. The vinegar acts as a disinfectant and cuts through dirt and grime without leaving streaks.
- Air Dry: Let your floors air dry. The vinegar smell will dissipate, leaving your floors clean and toxin-free.
Baking Soda Paste for Tough Spots
Ingredients:
- 3 parts baking soda
- 1 part water
Instructions:
- Make a Paste: Mix baking soda and water to create a thick paste.
- Apply to Stains: Use a sponge or brush to apply the paste on tough stains or sticky spots on your floor.
- Scrub and Wipe: After letting it sit for a few minutes, scrub the area and then wipe it clean with a wet cloth.
For Bathrooms: All-Purpose Bathroom Cleaner
Ingredients:
- 1 part water
- 1 part white vinegar
- A few drops of lemon juice
Instructions:
- Mix in a Spray Bottle: Combine water, white vinegar, and lemon juice in a spray bottle and shake well to mix.
- Spray and Wipe: Use this solution to clean countertops, tiles, and other bathroom surfaces. The vinegar effectively disinfects, while lemon juice leaves a pleasant, clean scent.
- Rinse if Needed: For areas with direct skin contact or food preparation, rinse with water after application.
Conquering Stubborn Stains: Tips, Tricks, and Tools
When it comes to keeping our living spaces pristine, stubborn stains are the ultimate nemesis. However, with the right approach and arsenal of cleaning tools, even the most persistent stains can be tackled. Some stains won’t budge on the first go. Here’s what to do:
1. Let It Soak
Initiating the battle against tough stains starts with the application of your chosen cleaner. Letting the cleaner sit and soak into the stain is crucial for breaking down the grime and dirt. For surfaces like countertops and tiles, a good soaking using a cleaner from a trusted brand can soften even the most resilient stains, making them easier to scrub away.
2. Heat It Up
Warmth accelerates chemical reactions, making warm cleaning solutions more effective in tackling stubborn stains. For fabric stains, using warm water (as long as the fabric can handle it) in combination with a quality cleaner can do wonders. Similarly, hot water mixed with a floor cleaning agent in the bathroom or kitchen can penetrate grime quickly and more effectively.
3. Elbow Grease
Often, there’s no substitute for good old-fashioned physical effort. Using a scrub brush, scrubbing pad, or a floor scrubbing pad attached to a low-speed floor buffer can provide the agitation needed to lift stubborn stains off surfaces.
Extra Tips and Tricks
- Tackle Stains at a Moment’s Notice: The quicker you can address a stain, the easier it will be to remove.
- Choose the Right Scrubber: Whether it’s a heavy-duty handheld scrubber for tough jobs or a scrubber with a long handle for comfort, make sure you have the right tool for the task at hand.
- Navigate with Ease: Use a scrubber that allows you to easily add to wishlist options for replaceable heads or accessories, ensuring you always have the right attachment for the job.
- Maintain Clean Tools: Rinse tools thoroughly after use to prevent the spread of dirt and debris. For convenience, consider antibacterial options or those that offer easy restock and express checkout features.
By integrating these dedicated tools and techniques into your cleaning routine, handling stubborn stains becomes less daunting. Whether it’s floor cleaning, tackling grime in the bathroom, or refreshing your living room furniture, the combination of soaking, heating, scrubbing, and using the right tools for the job ensures that you can maintain a clean, inviting home, even with the most challenging stains.