Are you constantly racing against the clock for an immaculate house? Does the arrival of unannounced guests send you into a frenzy? There’s no need for dismay – we’re here with cleaning tips from professionals. As it is often said, the best way to keep things under control is to “Work smarter, not harder.” Don’t panic; the good news is that you don’t have to lose your cool.
With hard-to-reach corners or stubborn stains, the magic eraser is the place to start. This compilation of swift three-minute tips will help transform your cleaning habits. These tips promise to transform you into an efficient maestro.
Incorporating the following easy-to-clean methods, cleaning soap and a multipurpose cleaner will make the whole process less time-consuming and more efficient. Be it maintaining the cleanliness of your home or getting your house clean before an unexpected visit, the magic eraser and these cleaning tips from professionals will help cut down your cleaning time.
Let’s start; it is time to clean our homes more innovatively!
Tip 1 — Utilize Multi-Purpose Cleaners
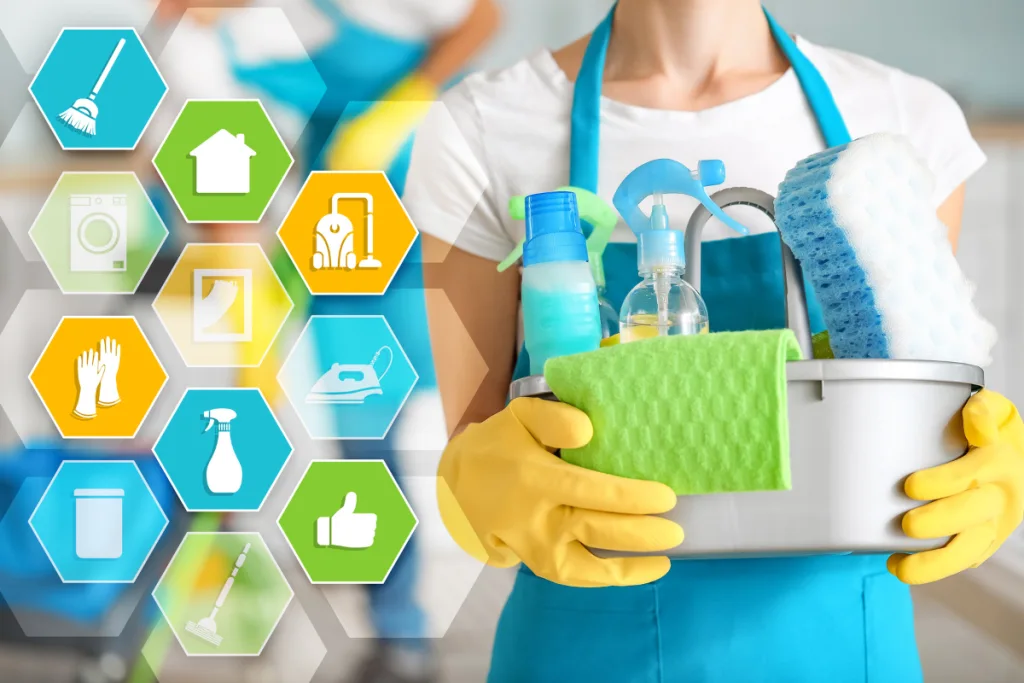
Investing in a top-notch multi-purpose cleaner is the ultimate cleaning tip from professionals. It can be your perfect house cleaner, saving time by being effective on all surfaces, from dust on your ceiling fan to grime on baseboards. Pair it with a microfiber cloth to wipe or mop away dirt without hassle.
For an eco-friendly approach, note that vinegar, especially white vinegar, can replace several cleaning products. It tackles stubborn tub stains effectively, and research verifies vinegar’s antibacterial capabilities.
Here’s why multi-purpose cleaners are worth their weight in gold:
- Time-saving: No more juggling different products. One cleaner can tackle multiple surfaces, streamlining your cleaning process.
- Cost-effective: Instead of spending money on numerous cleaning products, purchase one good-quality multi-purpose cleaner to cover all your bases.
- Simplified storage: One product caring for multiple surfaces will save space in your cleaning supply storage area.
Follow these steps to make the most out of your multi-purpose cleaner:
- Identify the multi-purpose cleaner’s compatibility: Check the product’s labels to ensure it is safe on various surfaces, such as wood, glass, metal, and porcelain.
- Test on a small area: For any new cleaner, apply a small amount on an inconspicuous spot to test for any adverse reaction, ensuring you don’t damage your surfaces.
- Dilute according to instructions: Some multi-purpose cleaners require dilution with water. Carefully follow the manufacturer’s instructions for the correct dilution ratio.
- Apply the cleaner and let it sit: Spritz or wipe the cleaning solution onto the surface and let it sit for a minute or two to break down any dirt, grease, or grime.
- Wipe away or rinse: After the cleaner has had time to work its magic, remove it by wiping the surface with a microfiber cloth or rinsing it with water, depending on the surface material.
By utilizing a multi-purpose cleaner, you’ll find that your home becomes cleaner, faster, and more efficient than ever before. And as a bonus, you’ll even save money in the long run.

Tip 2: High To Low
Professional cleaners emphasize a strategic approach to cleaning your home, known as the “top-down” or “high to low” method, one of their repertoire’s essential house cleaning secrets.
Starting at the top and moving your way down is a rule of thumb in the cleaning trade. It is because of the natural tendency for dust and debris to fall downwards. Adhering to this routine ensures efficient cleaning by eliminating the need to revisit already cleaned areas. This strategy saves time and prevents duplication of effort:
- Avoid Repetitive Work: As dust and debris naturally fall downwards during the cleaning process, starting from the top ensures that lower surfaces are not re-cleaned unnecessarily.
- Time Efficiency: Adopting this method accelerates your cleaning routine as you will not need to return to areas that have already been covered.
In essence, this is one of the professional house cleaning tips and tricks of the trade that promises to make cleaning more manageable, allowing you to clean like a pro. Remember, when it comes to spring cleaning or regular home cleaning, adopting pro tips for cleaning ensures you keep your home clean and handle cleaning jobs seamlessly.
Here’s how to follow this tried and accurate cleaning technique:
- Ceiling Fans and Light Fixtures: First, wipe or dust these areas to disperse any accumulated dirt.
- High Shelves and Cupboards: Clean these spaces, dusting objects and surfaces.
- Windows: Clear away dust from frames and blinds before cleaning the glass panes.
- Countertops and Furniture: Prioritise these areas next, wiping down surfaces thoroughly.
- Floors: Conclude the procedure with a sweep or vacuum to collect any remaining dust or debris.
The professional house cleaner’s “high to low” strategy streamlines your cleaning routine and increases house cleaning tips efficiency. These professional cleaning tips provide adequate measures to keep your home clean and organized.
Tip 3 — Keeping A Microfiber Cloth Handy
Microfiber cloths are a game-changer in cleaning. These little cleaning hacks champions offer many benefits that streamline your cleaning tasks:
- Dust Magnet: Their unique structure acts like a pro magnet to dust particles, allowing you to swipe away dust rather than disperse it quickly.
- Reusable and Eco-friendly: You can launder and reuse microfiber cloths, making them more sustainable than disposable wipes.
- Gentle on Surfaces: They are safe to use on most surfaces without scratches.
Here are some quick guidelines for using microfiber cloths:
- Keep One in Each Room: This allows for quick and easy access for impromptu cleaning.
- Dry or Damp: Use them dry for dusting and dampen them for a deeper clean on hard surfaces.
- Wash After Use: Shake off excess dust after dry cleaning, and rinse them well after wet use. Periodically launder them for a thorough clean, but avoid using fabric softener, which can clog the microfibers.
With a microfiber cloth at your side, your three-minute cleaning sprint will be even more efficient and effective!

Tip 4: Swift, Organized Cleaning
Organized cleaning is all about planning and execution. This is one of the major cleaning tips from professionals. It’s a critical strategy that maximizes efficiency, speeds up the process, and ensures a thorough clean. Here’s why this approach can redefine your cleaning experience:
- Prioritization: Identify and focus on areas that need instant cleaning.
- Time Management: Allocate specific periods for cleaning tasks to maintain productivity and reduce fatigue.
- Maximum Output: Strategize to achieve more in less time.
Follow these steps for an organized cleaning process:
Boost your cleaning efficiency with these professional cleaner tips:
- Use the 15-minute rule: Assign time slots to clean small spaces, ensuring house cleanliness without feeling overwhelmed.
- Create a schedule: Develop a cleaning calendar, allocating weekly tasks to keep your home spotless.
- Set a timer: Introduce urgency by timing cleaning sessions for a faster and more efficient routine.
- Check-off tasks: Gain motivation with a sense of accomplishment from ticking off completed chores.
You can maintain a clutter-free living space by using a duster for dust, a microfiber cloth for wiping surfaces, and house cleaner tools like white vinegar or baking soda for grime. Implement these cleaning tips from professionals and secrets to keep every corner of your home clean and tidy.
Tip 5 — Two-Bucket System
Are you seeking professional house cleaner-approved, fail-safe cleaning secrets to achieve spotless floors? Get ready to tackle that stubborn dirt with the two-bucket make-cleaning system. Not only is it efficient, this tip from house cleaners will leave your feet gleaming more brilliantly than ever.
Why pick the two-bucket system?
- Exceptional Cleaning: Avoid spreading grime across your floors. This technique ensures every swipe of your mop is with clean water for an effective deep clean.
- Time-Saver: Say goodbye to a second, tedious washing step to remove residual dirt water.
- Water-Saving Strategy: No need to refresh dirty water regularly, thus reducing your water consumption.
Here’s how to rock the two-bucket system:
- Bucket One – The Cleaning Powerhouse: Fill it with warm water and your favorite floor cleaner. It is the weapon to battle against dirt and grime.
- Bucket Two – The Freshener: Fill another bucket with clean water. Becomes a mop-rinsing haven, ensuring every mop dive into Bucket One is contagion-free.
- Start The Magic: Plunge your mop into the cleaning solution, then give your floor a rejuvenating wipe.
- Rinse Away The Dirt: Swirl the mop in the clean water bucket after mopping a floor section. This act banishes gathered dirt, leaving the mop clean for the next assault.
- Repeat The Success: Re-soak the mop with the cleansing solution and continue to bust that dust. Keep going until you sweep across every inch of your floor.
So, scrub away confidently and keep your home as fresh as a daisy!
With the two-bucket system, you ensure a cleaner floor—completed in less time and using less water.
Tip 6 — Clean As You Go
The “clean as you go” strategy turns maintaining a clean home into a way of life rather than a chore. It’s about seizing opportunities to tidy up and clean during daily activities so your living space remains clean without needing to dedicate large chunks of time to cleaning.
This method is very effective:
- Prevents Buildup: Regularly cleaning up small bits of mess prevents them from accumulating into a more oversized, harder-to-clean lot.
- Improves Efficiency: The longer a mess sits, the harder it can be to clean. Addressing spills and messes makes the cleaning process easier and quicker.
- Reduces Stress: A tidy home can lessen stress and improve comfort.
Tips for implementing this strategy include:
- Kitchen: Rinse dishes and utensils as soon as you’re done using them, and clean up spills as they happen.
- Living/Work Spaces: Put things back after using them, and throw away trash instead of letting it accumulate.
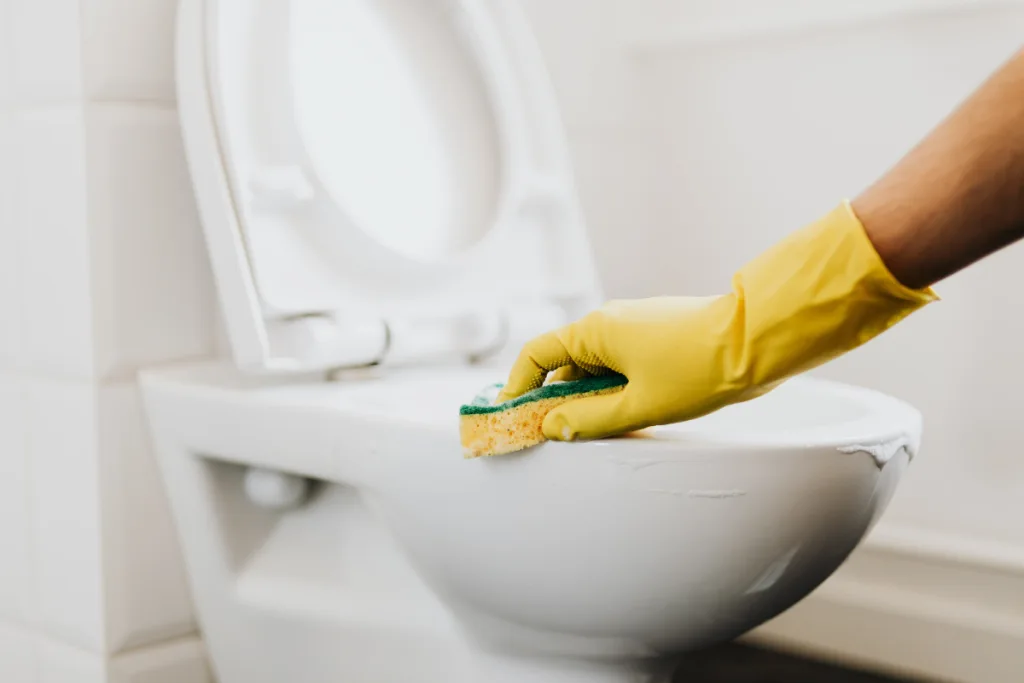
- Bathroom: After use, wipe down surfaces like the sink, countertop, or mirror if they’ve become dirty or wet.
By maintaining a “clean as you go” habit, your home will stay tidy, and there’s significantly less cleaning to do when it comes time for a more thorough session.

Tip 7 — Quick Bathroom Wipes
Maintaining a spotless bathroom is crucial for a clean and hygienic home. Embrace the following cleaning tips from professionals for an effortless daily bathroom upkeep:
- Prevent buildup: Regularly wiping surfaces wards off soap scum, dust, and stains.
- Save time: Cleaning soiled areas reduces the need for time-consuming deep cleaning.
- Boost hygiene: A well-maintained bathroom promotes a healthier living environment.
Achieve quick and efficient bathroom wipes by:
- Gathering essential tools: Equip yourself with a microfiber cloth and an effective cleaning solution.
- Wiping post-use: After each bathroom visit, swiftly clean critical spots like the sink, countertop, mirror, and faucet.
- Spot cleaning: Apply a cleaning solution to any visible marks, erasing them quickly.
- Scheduling deep cleans: Despite daily maintenance, allocate time for thorough weekly cleaning sessions, targeting grout, tiles, and other challenging areas.
These professional cleaning tips ensure an immaculate, hygienic bathroom while minimizing the effort and time invested in deep cleaning routines.
There you have it — three-minute lightning-fast cleaning tips from professionals and the pros! Remember, the key to an efficient cleaning routine isn’t just working harder. It’s working smarter. Implement these tips and watch your cleaning process transform into a seamlessly efficient machine, all without breaking a sweat.

